Showing posts with label Pinterest. Show all posts

Wednesday, August 22

Back to School Wreath


I am having just a little too much fun making wreaths to decorate my Red Door... And Pinterest makes it soo easy!  I am almost done making one wreath for every month of the year... what will I do then?

Some that I've already blogged about are
Spring Green Rag Wreath
Five minute $5 Wreath
Patriotic Wreath
FlipFlop Wreath

and Now... A Back to School Wreath 
  Here's the original pin...A Ruler Wreath

I got these wooden rulers for 25 CENTS each!!! (hurray for back to school sales) I should have bought more, I'm sure I could find another project for rulers!! :)


SUPPLIES:

12-14 rulers (I used 12)
6 inch embroidery hoop
hot glue gun
red ribbon
Accents ... small school supplies, scrapbooking stickers, apples or flowers!

So if you are handy, you get a saw and cut the rulers in half (or if you are like me, you sweet talk your husband in to cutting them for you)! Then you lay out half of them on a protected surface like your kids' placemats. (Sidenote: My craft table is so covered with stuff that I can't use it for projects like this... I'm working on it)


Then you carefully glue 12 ruler halves, evenly spaced, to the embroidery hoop (outside ring only)

After it dries (or sooner if you're impatient like me) flip it over and glue the second set to the first set, filling in all the gaps.

take the inner hoop, cut a slit in the inner hoop, measure it to fit inside the rulers and cut off the excess. then hot glue it to the inside for a more finished look. (this step was hard... I tried it 3 times before I got it to fit and look right)

Find a pretty red ribbon... I like polka dots! And loop it around, tie a bow, and have a pretty hanger.

Then accent it with flowers, apples, school themed stuff!!

The felt apples on mini clothespins were a Michael's score!!  They make me happy!

 And now your door is decorated and ready for September!!


Linking this up to The CSI Project for Pinterest Inspired Week...
Visit thecsiproject.com

And to MomminItUp for PinFTW!!

and Joining Jen with Tatertots and Jello
 

Wednesday, August 1

Summertime Wreath


It's August now, and although I love my patriotic wreath and I think maybe I should keep it up for the duration of the Olympics, just to show my support for #TEAMUSA, I decided that it's time for a wreath that's perfect for the "dog days of Summer"!

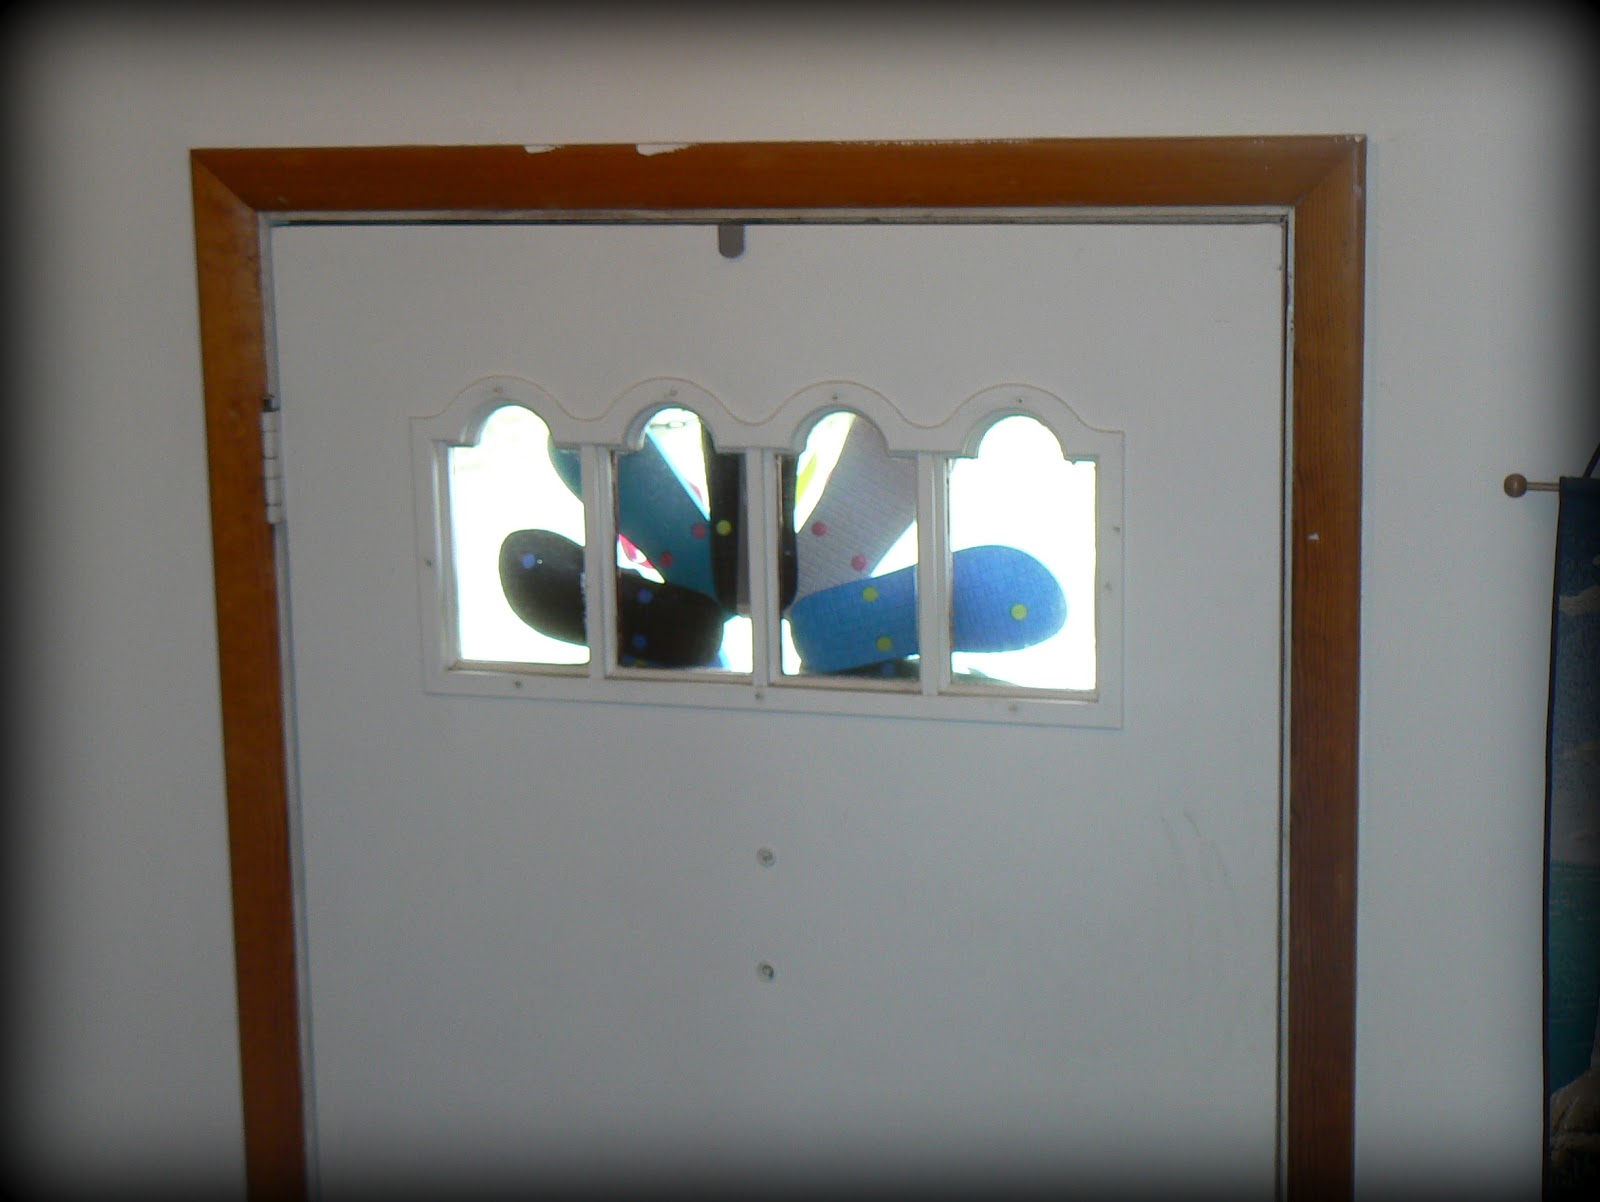
So I went with this fun flip flop wreath, I found on Pinterest.


The dollar store, craft stores, Old Navy $1 flipflop days... all are great resources for this fun wreath.  All you need is a bunch of flip flops and a hot glue gun! There are a few variations, and I chose the sunburst version...

It took me a few layouts to find a pattern I like... mixing up the colors of flip flops and the colors of the straps... Sometimes I get a little OCD.


Once you get your pattern (with every other one on the bottom/top) place hot glue on the bottom flip flop and press the top one on it.

Use the hands of your little ones to help you hold it down... especially if they want to help!

And keep doing it all the way around...


Let it sit and dry for a while, then check to see that each one is secure. I had to re-glue two of them that came loose.

I just used the flip flop placed on the wreath holder, didn't mess with ribbon or any other attachments.


Although, I admit it looks a little funny from the inside... :)


So, do you like it? or No? ... I'm still trying to decide!

Wednesday, July 25

A Baseball Wall

We don't own this home we live in, but we give thanks for it every day! I do not take it for granted! I am so thankful to the family who shares generously this home and the hundreds of acres that surround it.  And I am thankful for the Red Door!


When you don't own a home, but you want to make it your own, painting is an easy way to do that. So we did some updates... actually it started with the girls room, which had been a boring tan. I made it yellow with the help of my sister, easy peasy!


But the living room and the halls and the kitchen were also the same shade of boring brownish tan and while it works for some people, it just put me in the doldrums. So we started with the living room which we did a bright white with a tint of blue to it and accented one wall with a dark blue! So we had a lot of dark blue leftover and I thought it was a great boy color and decided to paint my son's room with the rest of the dark blue paint (His room had been a sickening pale green).

And all dark walls make a room a little dark and depressing and a lot scary at night when you are just 8, so from the get go, he wasn't too happy about it. He complained occasionally and then got used to it and just lived with it ... and then I found THIS great idea on Pinterest and this is where the story begins. It was perfect because I didn't want to repaint the whole room, this idea was just one wall!

We started with primer because we were covering such a dark wall... well a quart was not enough so the project was delayed a bit so I could get more primer and do a second coat (it was a dark blue).  Then we painted it was a Lowes color called "Nightlight." I thought that might be a good color to make a room not quite so dark at night!

Then my husband thought it should be all proportionate to a real baseball and I started to panic that it was going to be an awful project. So I started with a pencil on a string to get a nice arch on the wall... It still took me multiple tries and then I had the fun of erasing pencil marks from the freshly painted wall... :(

 Take my advice, go buy a sample of tan paint, don't try to create a shade with what you have on hand... so here are the seams, looking a little pink, with eraser streaks all over the wall! I was kinda tempted to quit at this point, but I also know that as much as I hate the process, I almost always love the end result, so I kept going!

and then it comes time to paint the stitches, with a nice sponge brush, in red (of which we did buy a sample) ...just little birds in the sky all the way down the seam.  Also had some panic, perfectionist moments while doing this.

and more red stitches to paint. I think they look kinda funny close up, but it doesn't have to be perfect to be beautiful!

and then I added shading of holes for dimension just like the original designer.


And when you look at it from the door ... it looks pretty good!!!

So get on it...   and create a baseball wall for the boys in your family ... also would be great in a play room!

linking up with Momminitup again!


Also linking up with CSI Project for Pinterest Inspired Week!

Visit thecsiproject.com

Wednesday, July 18

Headband storage


My glue gun and I are not good friends... I love it and I hate it all at the same time. ... also, being a perfectionist sometimes takes all the fun out of crafting.


I hate the process, but I often love the end result and this Pinterest inspired project is no different!!


The kids were at Grandma's last week (and still are for a few more days!), so I decided to do a bedroom purge in the girls' room! I got rid of one large garbage bag of broken toys, happy meal toys, papers, papers and more papers, and other miscellaneous stuff. I also wanted to organize some of the stuff we are keeping. Organizing toys wasn't a problem, we already have the containers for that, they just need to learn how to put them away.

Their hair stuff is a little out of control, which is funny because it's often a battle to get them to wear something in their hair (mommy isn't gentle enough with the brush, I suspect). So anyway, they have some nice hanging ribbon things for holding clips and barrettes, that my mom got them for Christmas last year, but the headbands are all over the place and on every dresser (remember there are 3 girls in there), so I wanted to get them all in one place!


I pinned this great headband storage idea ... 29 weeks ago, people! (isn't amazing that Pinterest can tell you that?) So, it's been on my radar for a while, but I bought a BIG oatmeal container and we don't eat oatmeal that often, so it still wasn't empty. I said, "too bad" and dumped the oatmeal in another container, because I had a project to make!

here's what you need...
An oatmeal container, scrapbook paper, ribbon, mod podge and a glue gun... and some patience!

Cut the paper to fit your container (depending on which size you use) Mine was the big container which turned out to be a pain!!

Start mod podging and attaching your first piece of paper doing your best to smooth out all the wrinkles... Or just leave all the wrinkles in and say it adds character!!

Then mod podge the second paper on there, lining it up the best you can and trying to not freak out over all the wrinkles ... or just be neater than me and don't have wrinkles.

Admire your not-so-handi-work

fold over the excess at the bottom (you should figure this into your measuring) and mod podge it on the bottom for a finished look.

Then let it dry...

Turn your hot glue gun on and assemble some ribbon... I used a piece on the top, on the bottom, and at the middle seam.

Apply glue to your ribbon (or rick rack ribbon) and wrap carefully around the container.


Then cut out a circle for the lid in matching paper (and mod podge it) to help finish it off. and glue a ribbon around the lid to make it look pretty

 Then put all the pretty headbands on it (after all the glue and mod podge dries, of course!)


and throw the stretchy headbands and pony tail holders inside!!

So tell me, are you a perfectionist when it comes to craft projects? 

or do you believe that it doesn't have to be perfect to be beautiful?

What pinterest project should I tackle next?


I hope you will join me and Momminitup with some of your Pinterest Inspired projects!


and being organized works for me... check out other tips, here!!
Related Posts Plugin for WordPress, Blogger...